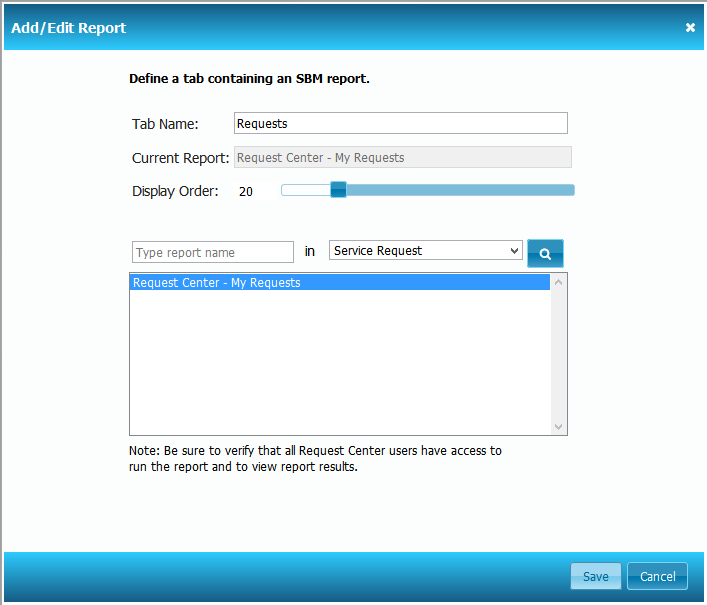
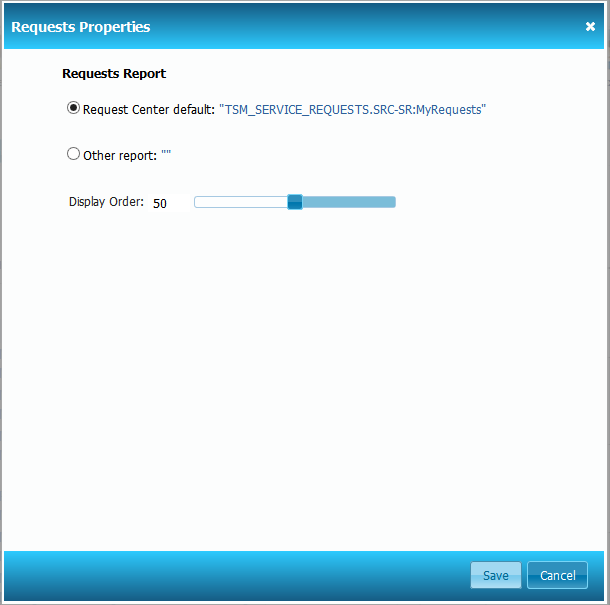
By default, the Requests view uses the provided Request Center - My Requests report, which returns items submitted by the logged-in user that were modified in the past 30 days. You can customize the view to use any SBM report to return requests.
To customize the Requests view:
- Select Customize | Request Center Portal.
- Select the Requests tab, and then click the edit icon.
- Enter a title for the tab and use the slider to specify where the tab should appear in the display order.
- Use the search tool to locate and select an
SBM
report. Note that users should have access to the report you select.

- Click Save.
You can also choose a custom report for the legacy Requests view, as long as you follow the criteria in Legacy Requests – Report Criteria.
To customize the legacy Requests view:
- Select Customize | Request Center Portal.
- Do one of the following:
- If the legacy Requests tab is displayed, select it and then click the edit icon.
- If the legacy
Requests tab is not displayed, click
Add Tab and then select
Add Legacy Requests.
Note: If Add Legacy Requests does not appear, select Customize Request Center Properties and set Add legacy tabs to Allow.
- Choose from the available options (which change depending on the
detected process apps):
- Request Center default, which uses the Request Center - My Requests contained in the Service Desk snapshot shipped with Request Center.
- Other report, which allows you to search
for and select a custom Listing or Multi-Table report. Reports are available
only if they meet the criteria listed in
Legacy Requests – Report Criteria.

Note: The report must contain the system fields as noted in the following section because they are used for sorting items. The system fields can appear after the six fields you choose as column headers.
To rename the legacy Requests tab:
- In Application Administrator, click the Localization icon.
- Select the Values tab.
- Expand the Request Center category and select the main section.
- Navigate to the requests string and enter the new name for the tab in the Override column.
- Click Save.
Legacy Requests – Report Criteria
- Report Type
You can choose a single pre-defined Listing report or a Multi-Table report. Multi-Table reports are recommended if you want to return requests from multiple applications.
- Privilege Category
You cannot select a private report. Also, be sure to verify that all Request Center users have access to run the reports and view report results. For example, If you add the report at the Base Project level, users may not see results in their Request Center view.
- Required System fields as display columns
The following system fields must be set as display columns or the report will not be available for the b view.
- Last Modified Date
- Owner
- Submit Date
- Title
- Search Filter
- Query-at-Runtime parameters are not allowed.
- Calculation columns are not allowed.
- Optionally, use a "Submitter contains any current user" condition to only return items submitted by the user who is logged in.