Headers, footers, and sidebars are available with modern forms. With this feature, you can ensure that important elements remain visible on the screen at all times. For example, you may want to keep certain buttons or controls visible while users scroll or change tabs in the main form area.
After you add a header, footer, or sidebar, you can drag and drop form palette elements onto them, just as you can with the main form area.
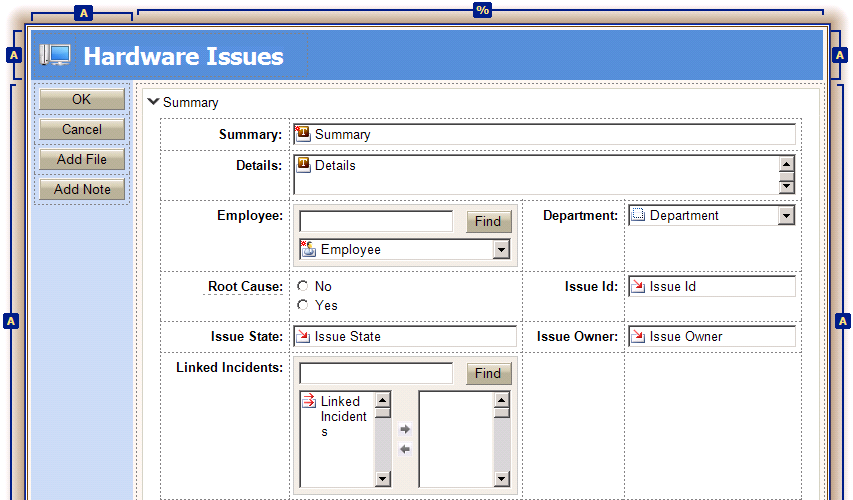
In the example below, the toolbar has been hidden on the form. The left sidebar includes a subset of transitions and actions. The custom header reflects the type of incident being submitted.
To add headers, footers, and sidebars:
- Select the form.
- Click the Appearance tab on the form Property Editor.
- Under Form features, select the check boxes for the areas you want to add.
- For sidebars, you can specify the width, and for headers and footers, you can specify the height.
- Drag and drop form palette elements to each area as needed.
- To specify the background color or an image for the area, use the Background area of the ribbon. To specify these settings for all headers, footers, and sidebars, use the Styles Editor.
Headers, Footers, and Sidebars on Print Forms
Printers will cut off overflowing contents of any internal scrollbars, including the scrolling content cell normally created by using headers, footers, and sidebars. In order for the main contents to fully appear on print forms, headers, footers, and sidebars will render as ordinary (non-fixed) table elements, exactly as if you created an extra row or column instead of using them.