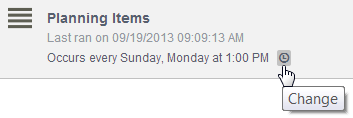
You can schedule most reports to run at a particular day and time and have the results sent to the e-mail address specified in your user account and to other users, depending on your privileges. You can also schedule reports to run on a recurring basis.
The e-mail message includes a link to a report a PDF attachment that contains the report results. For the following report types, users can choose to send report data in a PDF or a zipped Excel document:
- Listing
- Reports with join conditions
- Change History
- Deleted Items
- State Change
- Version Control Actions
- Multi-Table
Only the first 10 columns are included in PDF reports that return a list of items, such as those above. PDF results for list-type reports are limited to 200 items by default. Your administrator can change this setting, however.
To schedule a report:
- From the Work Center toolbar, click the icon for a pinned application or application group.
-
Use one of these options to open the Report Center:
- Expand Reports in the navigation menu, and then click Report Center.
- Click the
Manage Views icon (
 ) located in the navigation menu, and then click the
Reports menu header.
- Find the report you want to schedule. For guidance, refer to Searching for Reports.
-
Hover over a report row, and then click the
Schedule (
 ) icon.
- On the Schedule a Report dialog box, select Daily, Weekly, or Monthly to schedule recurring report generation, or select On Date to send the report once on a specific date.
- Specify the time the report should be generated, based on the time zone set in your user profile.
- Depending on the type of report, you may be able to choose to send a PDF or a zipped Excel file.
- Depending on your privileges, you can enter all or part of a user name or group in the CC field to send the report to other users.
- Save your changes.
