You can schedule most reports to run at a particular day and time and have the results sent to the e-mail address specified in your user account. You can also schedule reports to run on a recurring basis.
The e-mail includes:
- a PDF or spreadsheet attachment, depending on the report type. (Spreadsheets are sent in a zip file.)
- A link to the latest version of the report.
To schedule a report:
- From the Work Center toolbar, click the icon for a pinned application or application group.
- Click the Reports expander from the navigation pane.
- Find the report you want to schedule. For guidance, refer to Finding and Running Reports.
-
Hover over a report row, and then click the
Schedule (
 ) icon.
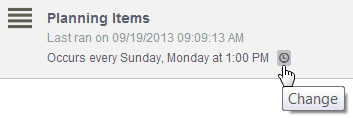
- On the Schedule a Report dialog box, select Daily, Weekly, or Monthly to schedule recurring report generation, or select On Date to send the report once on a specific date.
- Specify the time the report should be generated, based on the time zone set in your user profile.
- Depending on your privileges, you can enter all or part of a user name or group in the CC field to send the report to other users.
- Save your changes.