Use custom sections on the Catalog view to provide information relevant to your users in a single view. Custom sections can display SBM reports, external URLs, and Work Center activity views, which provide easy access to items from one or more feeds.
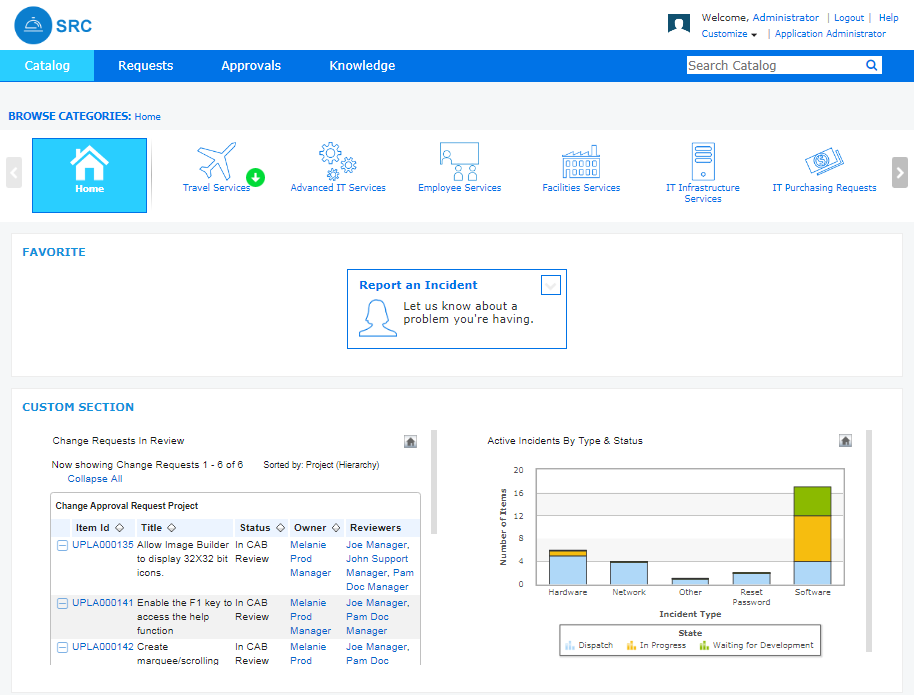
For example, the custom section below displays the Change Requests In Review listing report and the Active Incidents By Type & Status distribution report.
You can also add reports, URLs, and activity views as custom tabs in SRC. See Adding Tabs to SRC.
To add a section:
- Select Customize | Request Center Portal.
- In the Catalog view, click Manage Sections.
- Click Add Section.
- Specify the size and display order, enter a section title, and define borders as needed.
- Select the section layout. Up to three subsections can be included, which will appear in a row. You can define additional rows by adding new sections.
- Specify the contents of the section:
- URL
Provide a URL for a Web page, such as your company intranet. Note the following requirements:
- The URL must be valid.
- The URL response header should not contain x-frame-options equals deny or cross-origin.
- When SSL is enabled, you can use only https resources for both external and internal hosts.
- Users should have enough permissions to view the content.
Note: Some Web sites do not support embedding on other sites. If you cannot embed an external Web site into SRC, refer to the Web site's documentation. - Add Activity
Click Add Activity to search for a Work Center activity view URL. Note that users should have access to the activity view you select.
- Add Report
Click Add Report to search for an SBM report URL. Note that users should have access to the report you select.
- URL
- Click Preview to ensure that the section loads as intended.
- Click
Add Section to add another URL, activity view,
or report, and repeat steps 4-7.
Note: By default, the display order increments by ten as you add new sections. This provides flexibility when you need to reorder sections after adding them.
- Click Save.
- To exit edit mode, click the Quit edit mode link or select Customize | Request Center Portal again.
To edit or delete a custom section:
- Select Customize | Request Center Portal.
- In the Catalog view, click Manage Sections.
- Edit each section as necessary. To delete a section, click the x in the right-hand corner.