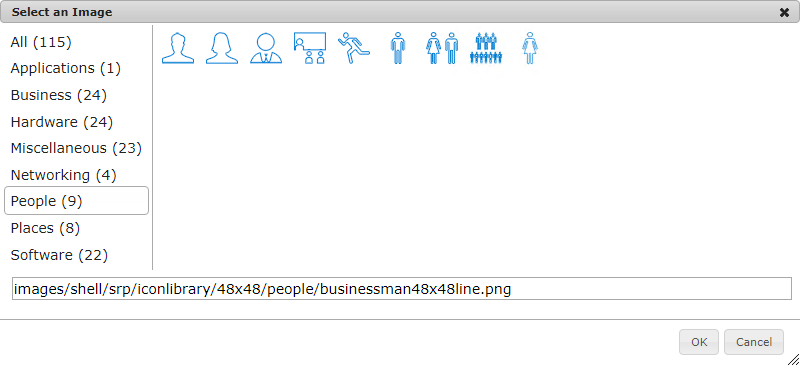
The image picker is used to select images for categories and service requests in SRC and for categories in Knowledge Center.
The image picker comes with a collection of images that are arranged in groups. You can view all images or the images in a group. To choose the image, select it and then click OK.
On-premise installations can add new images to the image picker. The administrator must perform the following steps on the SBM Application Engine server:
-
Add the new PNG image files to the 32x32, 48x48, and 64x64 folders in the following directory:
installDir\SBM\Application Engine\bin\images\shell\SRP\iconlibrary
Note:- The image size should be 32 by 32 pixels in the 32x32 directory. The images in this directory are used for the image picker.
- The image size should be 48 by 48 pixels in the 48x48 directory. The images in this directory are used for the service requests.
- The 64 by 64 images are placed in the 64x64 directory are used by both SRC categories and KM Categories.
-
Add the new images to the serviceimages.js and categoryimages.js files. These files are found in the following directory:
installDir\SBM\Application Engine\bin\javascript\shell\SRP
- Open SBM System Administrator and go to File | Put Files Into Database. This will prevent the new images from being deleted the next time IIS is restarted.