Open the Quality Center web UI.
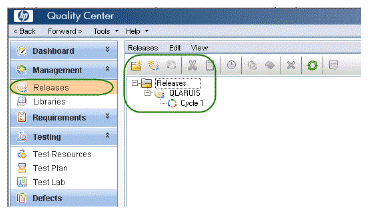
Under Releases, create a release and a Cycle under the release
.
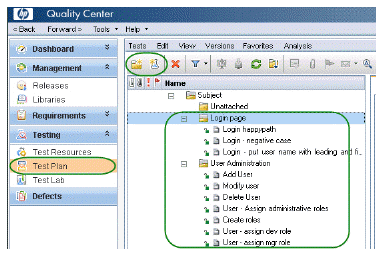
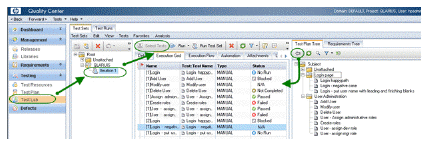
Select Test Plan and create a set of test cases. This is a library of test cases to be used in test runs. For example:
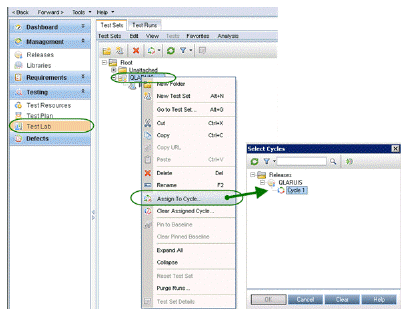
Select Test Lab and create a folder for the test sets, for example QLARIUS. The name of this folder will be displayed on the Dashboard.
Assign a cycle to this folder.
Only after creating this reference will the Dashboard display the current new folder.
Create a test set, for example Iteration 1.
Select the test set and click Select Tests.
Run the tests (or change their Status)
|
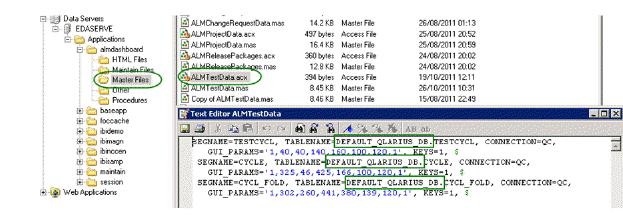
Set the database value in the ALMTestData access file.
|
-
Obtain the name of the database from QC Administrator:
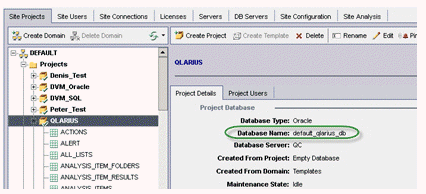
-
Edit the file ALMTestData.acx and set the name of the database in the TABLENAME parameter to this name.
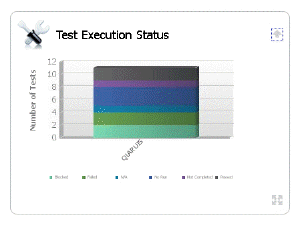
If everything is configured correctly, you should be able to display a test execution graph in the Serena Dashboard
