Screen Shot
System Settings → Report Templates → System Reports → Missing Timesheets
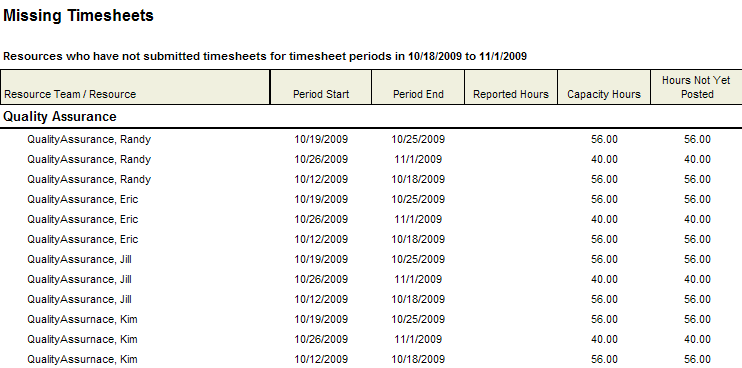
This report shows timesheets that were not submitted or saved for a user-defined date range and specified resource team. Only open timesheet periods are displayed.
Descriptions for the fields that are available in this report can be found in the following table.
| Field | Description |
|---|---|
| Capacity Hours | The amount of planned hours that could be reported during the missing timesheet reporting period. |
| Hours Not Yet Posted | The variance between the actual hours and planned hours in the missing timesheet reporting period. |
| Period End | The date on which the missing timesheet reporting period ends. |
| Period Start | The date on which the missing timesheet reporting period begins. |
| Reported Hours | The name of the work item, log item, or discussion. |
| Timesheet Period / Resource Team / Resource | The name of the timesheet period, resource team, and resource. |
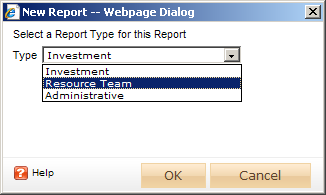
To add a report that uses the Missing Timesheets report template, open the New Report dialog box from the My Reports tab and then follow the steps below.
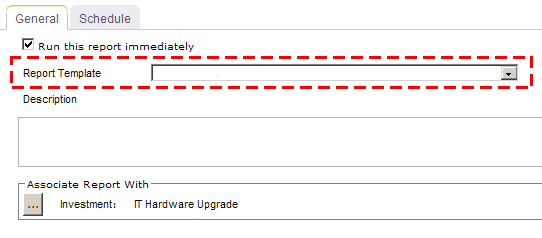

You can view the Missing Timesheets report directly after adding it by selecting the Run this report immediately option in the New Report dialog box. (Reports can also be run from the My Reports tab in the Tools module or the Reports tabs in the Projects module.) Set the filter options and click ![]() Apply.
Apply.

Filter options:
| Filter | Description |
|---|---|
| Based on Capacity | Indicates whether submitted or unsubmitted timesheets will be shown. If this option is selected, reported hours, capacity hours, and hours not yet posted will be shown for each resource in the report, including the variance between reported and capacity hours. If this option is not selected, only unsubmitted timesheets will be shown. |
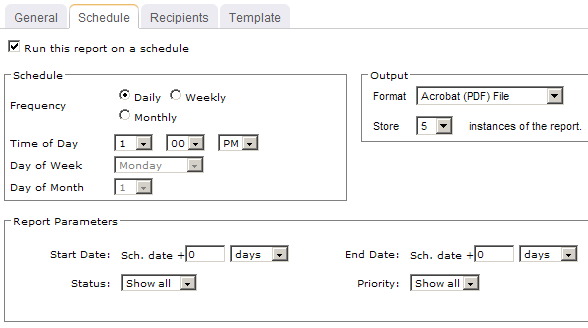
| End Date | The date on which the reporting period ends. Use the calendar picker to select this date. |
| Group By | For any report that includes both investment and resource data, you can choose to filter the report by investment or by resource, and then by the other. For investment reports, users can view the report sorted by item and then by resource team. They can also sort the report by resource team, resource and then by item. For resource team reports, users can view the report sorted by resource team for the entire date range or by resources broken down into timesheet periods. Filter options:
|
| Start Date | The date from which the reporting period begins. Use the calendar picker to select this date. |
Copyright © 2003–2011 Serena Software, Inc. All rights reserved.