Screen Shot
System Settings → Report Templates → System Reports → Attributes by Investment Type
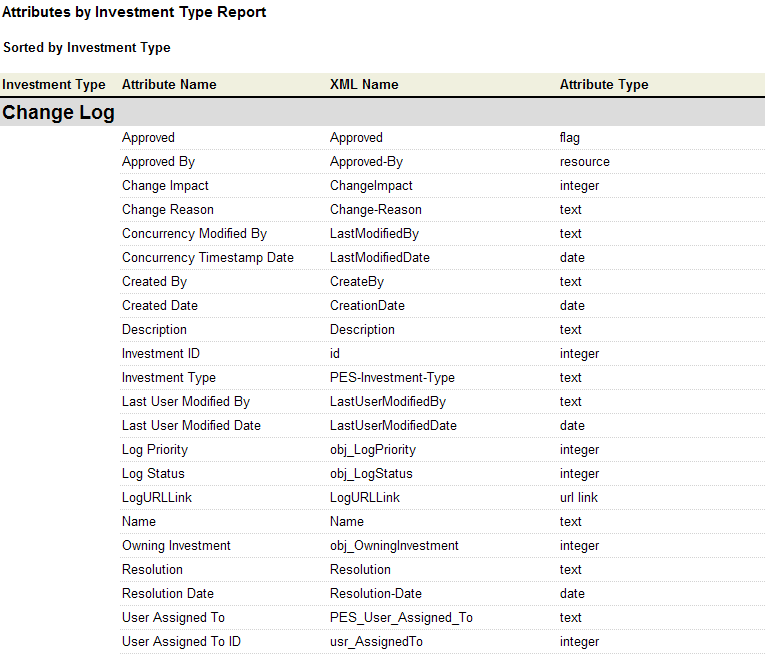
This report lists all of the attributes that are available for each work item type.
The Properties section of the View Designer and Module Designer views displays the properties that are available for the selected attribute, control, or widget. The list of available properties will vary, depending on the selected attribute, control, or widget.
| Field | Description |
|---|---|
| Attribute Name | The name of the attribute. This is the same name that is found in the Name field on the Attributes tab in the Custom Attributes view. |
| Attribute Type | The type of attribute. An attribute must be one of the following attribute types: constant, date, flag, integer, large text, milestone, money, percent, ranged calculation, resource, text, time, Timephased - CURRENCY, Timephased - FTE, Timephased - NonLabor, Timephased - Units, Timephased Calc - CURRENCY, Timephased Calc - FTE, Timephased Calc - HOURS, Timephased Calc - UNITS, or url link. |
| Investment Type | The work item type. Work item types (in this report) can be defined in two locations: the Item Types tab of the Types Setup view and the Item Views tab of the View Management view. |
| XML Name | The system name for the attribute. This is the same name that is found in the System Name field on the Attributes tab in the Custom Attributes view. |
To add a report that uses the Attributes by Investment Type report template, open the New Report dialog box from the My Reports tab and then follow the steps below.
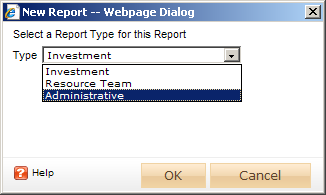
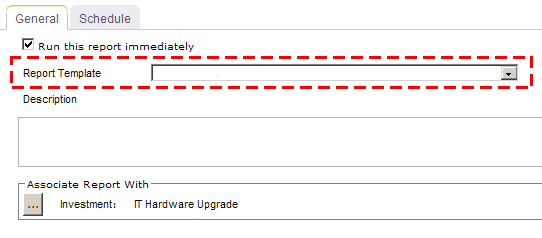
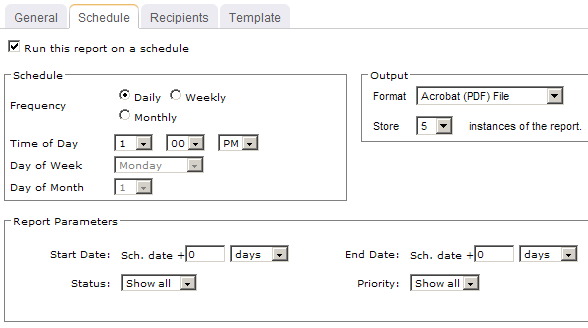
You can view the Attributes by Investment Type report directly after adding it by selecting the Run this report immediately option in the New Report dialog box. (Reports can also be run from the My Reports tab in the Tools module or the Reports tabs in the Projects module.) Administrative reports do not have filter options.
Copyright © 2003–2011 Serena Software, Inc. All rights reserved.