Adding a New Project
A simple way to begin using Serena Agile Planner is to create the products, releases, teams and sprints that will comprise your portfolio. Each of these items serves as an independent backlog to which work can added, moved, and tracked. The New Projects Wizard is the fastest and easiest way to set up a product, release, team, and sprint structure.
To create a project
- Open the Backlogs module.
- Click More, and then select New Projects.
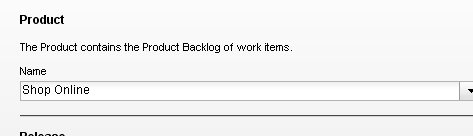
- Enter the name of the project that you wish to add. Or select the name of an existing product.
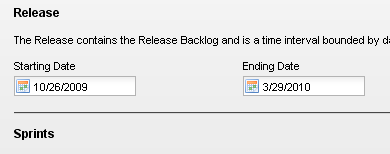
- Enter the name of the release that you wish to add. Or select the name of an existing release. Define the length of the release.
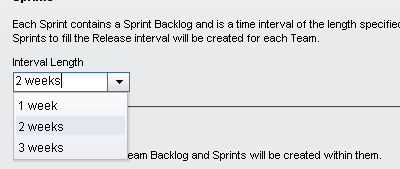
- Select the interval length for each sprint. The number of sprints created depends on the overall length of the release and the number of sprints each release will contain. For example, if you specify that each release is 9 weeks, and then you select a 3 week interval for each sprint, each release will then contain 3 sprints.
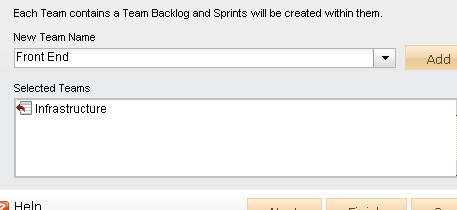
- Enter the name of a new team or select the an existing team, and then click Add.
- After you have selected your products and teams and defined the length of a release and the number of sprint intervals each will contain, click Next.
- Verify that the projects, resources, sprints, and teams are the actual work types you wish to create, and then click Finish.
- Verify in the backlogs tree that you have created the correct projects, resources, sprints, and teams.