Adding a work item
You can add a work item to a backlog.
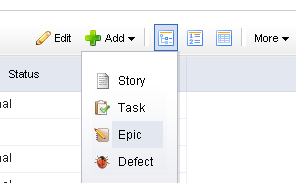
To add a work item
- Select a backlog, choose
 Add, and select the work item type you wish to add.
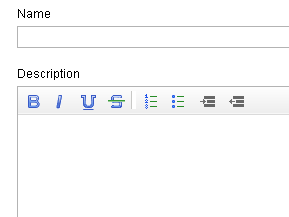
- Enter the name and description for the work item.
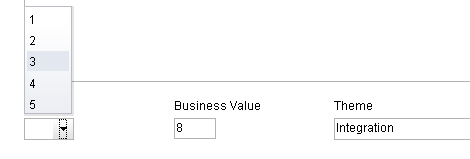
- Set the priority, business value, and theme.
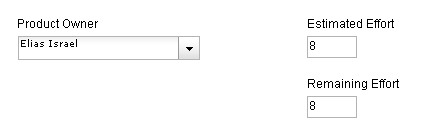
- Select the Tracking tab to assign an owner and to specify estimated and actual hours.
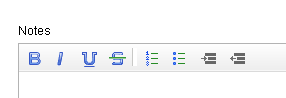
- Select the Notes tab to enter any notes that may be needed for the work item or for the team member assigned to the work item.
- When you are finished, click OK to save this work item and close the dialog box. If you want to create another work item, click Save & Add Another.
Editing the details of a work item
You can edit the details of any work item to which you have access or details which cannot be edited directly in the backlog itself. Click the name of the work item directly in the backlog to open its summary details.
To edit the details of a work item
- Select a backlog, choose a work item and click its name.
- Make any changes you need to make.
- Click OK.
Editing a work item inline
You can edit the details of any work item directly in a backlog.
To edit a work item inline
- Select a backlog.
- In the backlog toolbar, click
 Edit.
Edit. - Select the work item. Select a column. Double-click. Make your changes.
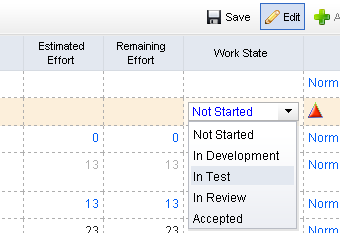
- Click
 Save. (To exit without saving changes, click Edit.)
Moving a work item between backlogs
You can move a work item from one backlog into another. When backlogs are side-by-side in the same view, you can select a work item in one backlog and drag it into the other.
| Icon | Description |
|---|---|
| New backlog. This will drop the work item into the new backlog. The backlog will refresh and the work item will appear in the new backlog (and disappear from the old backlog). | |
| Re-rank. This will drop the work item into the selected location; the backlog will refresh and the work items will be in the new order. | |
| Re-parent. This will drop the work item into the selected location; the backlog will refresh and the work items will be in the new order. | |
| New phase. This will drop the work item into a new phase in a storyboard (or card wall). The storyboard will refresh and the work item will be moved to the new phase. | |
| Invalid. You cannot drag-and-drop a work item into a backlog when this icon appears. |
To move a work item between backlogs
- Select the backlogs to and from which a work item will be moved, and then select the work item you wish to move.
- Click and hold down the work item, and then drag it to its new backlog.
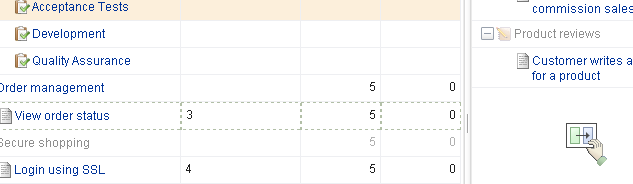
- Verify.
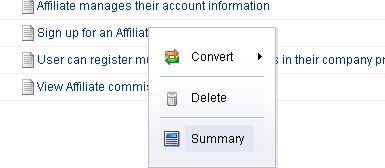
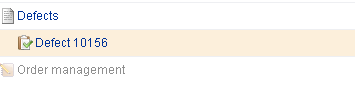
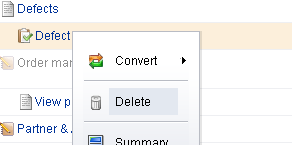
Viewing a work item summary
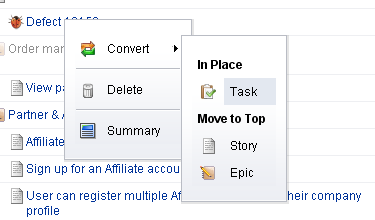
There are two ways to view the details of a work item. Select the name of the work item in a backlog, right-click, and select Summary. Or just click the name of the work item in the backlog.
To view a work item
- Select a backlog.
- Select a work item in the backlog.
- Right-click and select
 Summary.